
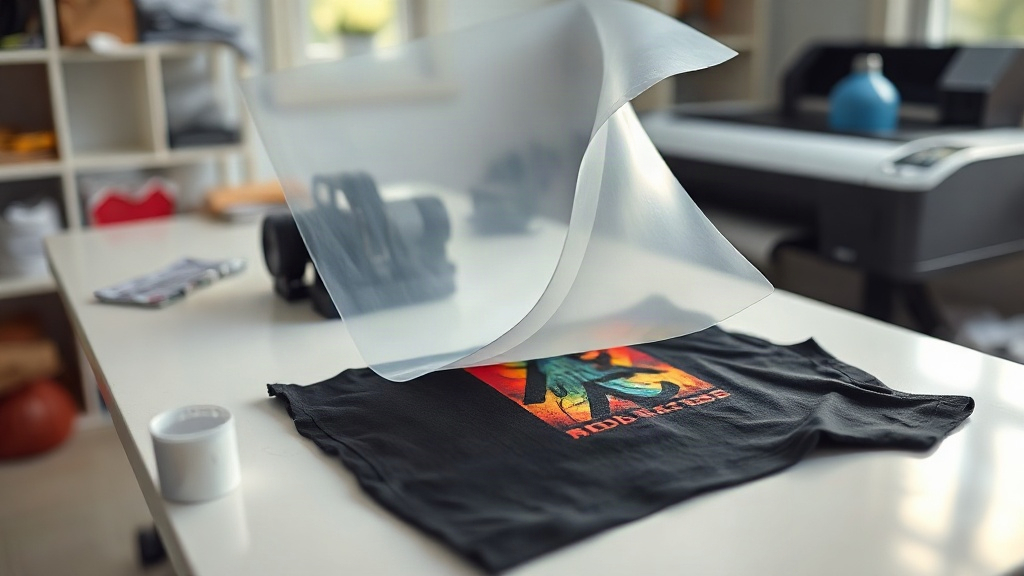
When I bought my first roll of transfer film, I assumed DTF printing would be as simple as pressing a shirt. Three ruined transfers later, I understood why so many people give up before they get a single clean result. The process is not complicated once you see the full picture, but almost every tutorial skips the parts that actually matter at the start. This guide covers what DTF printing is, how the steps fit together, and the practical details that separate a smooth first run from a frustrating one.
What DTF Printing Actually Is
DTF stands for direct to film. Instead of printing straight onto a garment or cutting vinyl, you print your design onto a special film, cover it with adhesive powder, and then heat press it onto fabric. The design sits on top of the garment as a thin, flexible layer rather than soaking into the fibers.
That distinction matters more than it sounds. Because the ink never touches the fabric directly, DTF works on cotton, polyester, blends, canvas, and even some materials that screen printing and vinyl struggle with. You are not locked into one fabric type, which is why small shops and hobbyists have gravitated toward it.
The tradeoff is that you are managing more steps. A vinyl cutter is one machine. DTF involves a printer, film, powder, a curing step, and a heat press. Each stage has its own failure points, and a mistake early on will not show up until the very end.
The Step by Step Process
Printing the design onto film
You start with a printer loaded with DTF inks, typically CMYK plus white. The white layer is what makes the design opaque on dark garments, so it is printed either under or over the color depending on your setup and your RIP software. The film itself is coated to accept the ink without bleeding.
One thing beginners miss: the image has to be printed in mirror mode. If you forget, your text will read backward on the final shirt. Most RIP software handles this automatically, but check before you waste a sheet.
Applying the adhesive powder
While the ink is still wet, you sprinkle hot melt adhesive powder over the printed area. The powder sticks to the wet ink and nowhere else. You then shake off the excess and return it to the container for reuse.
The amount of powder matters. Too little and the transfer will peel after a few washes. Too much and you get a rough, gritty surface that feels unpleasant and can clog the texture of the print. A thin, even coat that fully covers the wet ink is the target.
Curing the powder
Next comes melting the powder so it fuses into a solid adhesive layer. This is usually done with a heat press, a curing oven, or in some setups a heat gun. The powder needs to reach its melting point and turn from a matte white dust into a glossy, slightly translucent film.
If you undercure, the powder stays powdery and the transfer will not bond properly. If you overcure, the film can warp or the ink can shift. A consistent temperature and a timer are not optional here.
Pressing onto the garment
Once cured, the transfer is ready to apply. You place it on the garment, press at the recommended temperature and pressure for the fabric and film you are using, then peel the film away. Some films are hot peel, some are cold peel, and mixing them up is a common source of ruined prints.
After peeling, a second short press is often recommended to smooth the surface and improve wash durability.
What You Need to Get Started
You do not need a commercial setup to begin, but you do need the right pieces working together. Here is the short list:
- A printer that supports DTF inks, or a converted printer with the correct printhead and ink system
- DTF transfer film, usually in sheets or rolls
- Hot melt adhesive powder
- A heat press with adjustable temperature and pressure
- A curing method, which can be the heat press itself, an oven, or a dedicated curing unit
- RIP software to manage white ink layering and color profiles
If you are testing the waters, start with sheets rather than a full roll. You will make mistakes, and sheets let you make them cheaply.
Common Mistakes That Waste Film and Ink
Most failed transfers trace back to a handful of causes. Knowing them in advance saves a lot of material.
Inconsistent powder coverage
Shaking powder on by hand gives uneven results. Some areas get too much, others too little. A powder shaker or a more controlled application method makes a noticeable difference, especially once you start doing more than a few transfers a week.
Wrong press settings
Temperature, pressure, and time all interact. A press that is too cool will not activate the adhesive. Too much pressure can flatten the ink and push it into the fabric weave. Follow the film manufacturer's recommendations first, then adjust based on your actual results.
Peeling at the wrong temperature
Hot peel films need to come off while still warm. Cold peel films need to cool completely. Peeling at the wrong moment can stretch the design, leave ink behind on the film, or tear the edges.
Skipping a test press
Every new fabric, film, and ink combination behaves a little differently. Pressing one small test square before committing to a full run takes two minutes and can save an entire batch.
How DTF Compares to Other Methods
Screen printing is faster and cheaper at high volume, but it requires a screen per color and does not handle photographic detail well. Vinyl cutting is great for simple shapes and text but limited for complex images. DTF sits in a middle ground: it handles full color and fine detail, works on many fabrics, and does not require setup per color.
The catch is cost per unit and the number of steps. For small runs and detailed designs, DTF often makes more sense. For thousands of one color shirt, screen printing usually wins on price.
Frequently Asked Questions
How long do DTF prints last on a shirt?
With proper powder application, correct curing, and a good press, a DTF transfer can hold up through many washes. Washing inside out in cold water and avoiding high heat in the dryer will extend the life considerably. Peeling edges usually point back to undercuring or too little powder rather than the film itself.
Can I use DTF on 100 percent cotton?
Yes. Cotton is one of the easiest fabrics for DTF because the adhesive bonds well to natural fibers. You still need to match your press settings to the fabric thickness, but cotton is generally forgiving.
Do I need a special printer for DTF?
You need a printer that can handle white ink and the specific DTF ink set, along with a RIP that manages white layer placement. Some people convert existing printers, but the conversion has to be done correctly or you will deal with clogging and inconsistent output.
Why is my DTF transfer cracking after washing?
Cracking almost always comes from incomplete curing or too little adhesive powder. If the powder did not fully melt, the bond is weak and the print will fail over time. Increasing cure time or temperature slightly, and checking powder coverage, usually resolves it.
Where to Go From Here
The fastest way to learn DTF is to run a small batch and inspect the results closely. Print a simple design, apply powder carefully, cure it fully, and press it onto a scrap shirt. Then wash it. What you see after that wash tells you more than any tutorial can.
Once you have one clean result, you can start adjusting variables one at a time. Change only the powder amount, or only the press time, and note what happens. That habit turns a confusing process into a predictable one, and predictable is what makes DTF worth the effort.